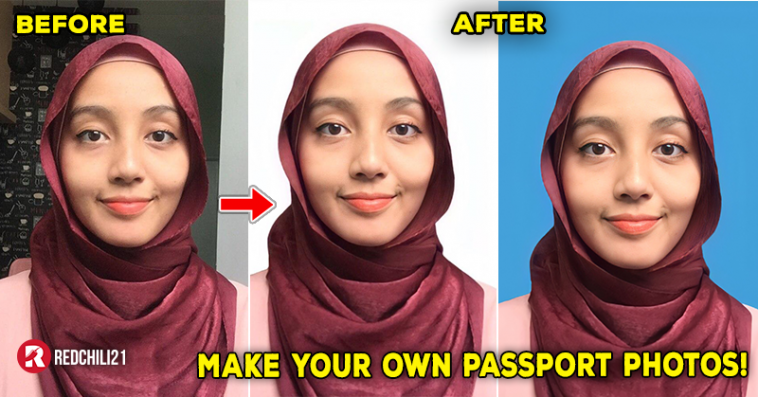
Not satisfied or unhappy with your passport sized photos? Passport photos are too pricey because you have them taken by a professional photographer at the shop?
Worry no more~
Now, you can make your own passport photos with this helpful tutorial.
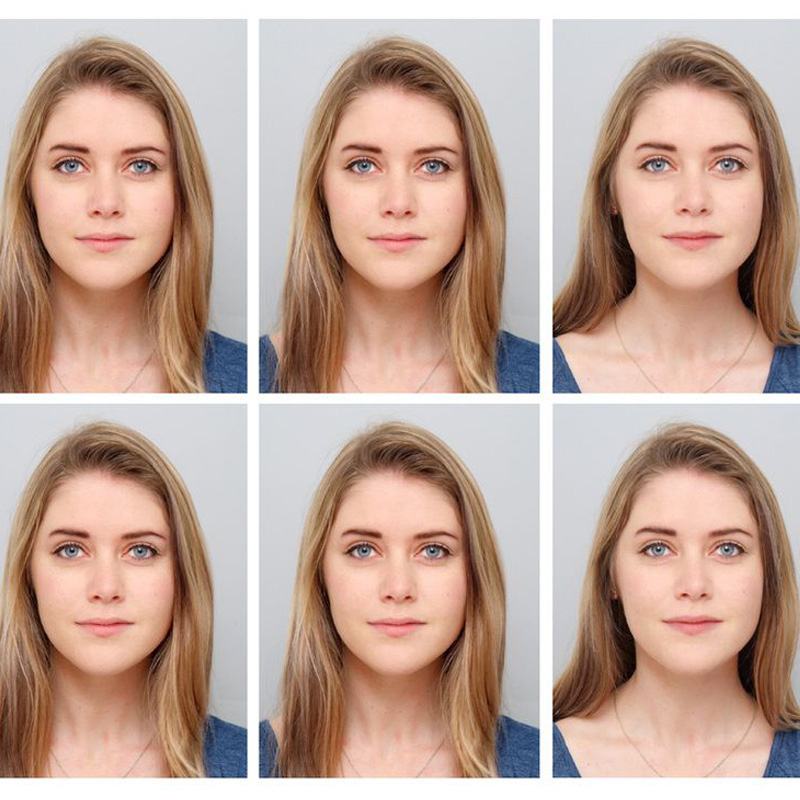
Recently, a netizen shared how she makes her own passport photos easily with just few simple steps which went viral with more than 20K likes and 7K retweets on Twitter.

This woman took the picture by herself and edited the picture into a passport-sized picture like how she wanted to.
Excited to know how?
Without further ado, let’s start!
Step 1: Take a photo of yourself.
If you want your passport-sized photo to look bright and clear, then it’s better for you to take the photo during the day time. If you have a ring light, it would look much more better. Then, transfer the picture to your computer.

Step 2: Go to the website【Click Here】 to remove the background of the picture.
Before taking a photo of yourself, make sure your hair is tidy because when you remove the background, it might just cut off the hair.
▼ Background has been removed.

Step 3: Edit the background with your preferred colour using Picsart.
You can either use white or blue background colours as the background depends on your needs.
▼ White background photo.

▼ Blue background photo.

▼ The blue background that you can use to edit your photo.

Step 4: Use Remini app to make your photo look sharper.
This step is not a must but if you want your photo look sharper and clearer, you can use Remini app to edit.
▼ Before

▼ After

Step 5: Download it.
Don’t forget to apply the standard ratio for a passport photo which is 7:10 before you download or upload it onto any websites. Crop and resize if needed.
If you want to print out the photo, you can go to Microsoft Word or Powerpoint, insert the image and resize the image to 50mm x 35mm.
That’s it!
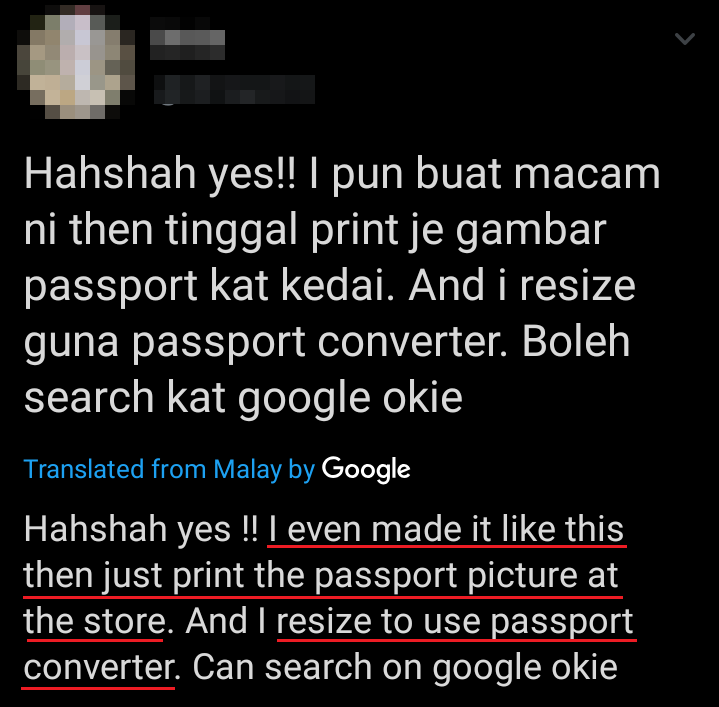
▼ Netizens who tried these simple steps eventually made their own passport-sized photos without having to go to the shop to take photos~


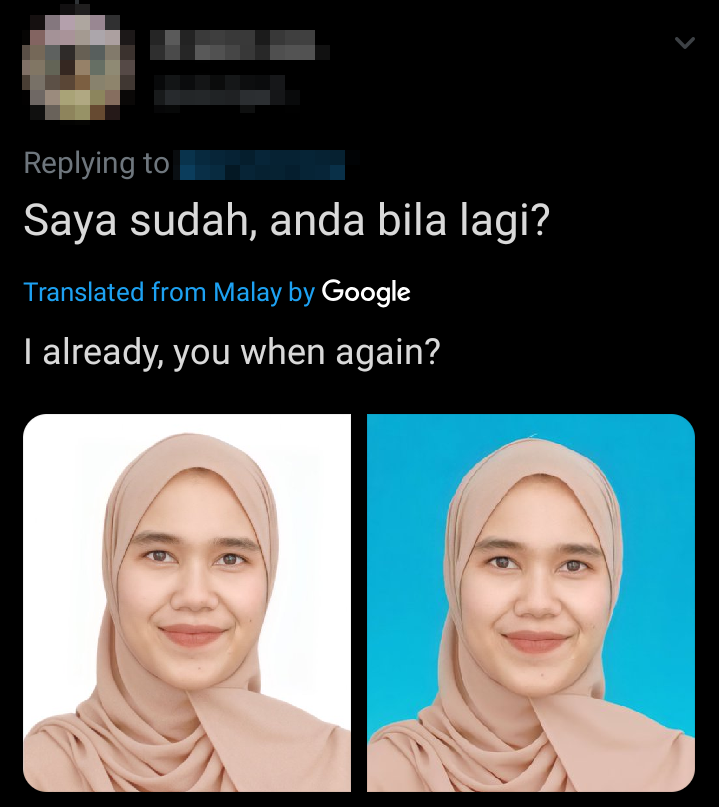

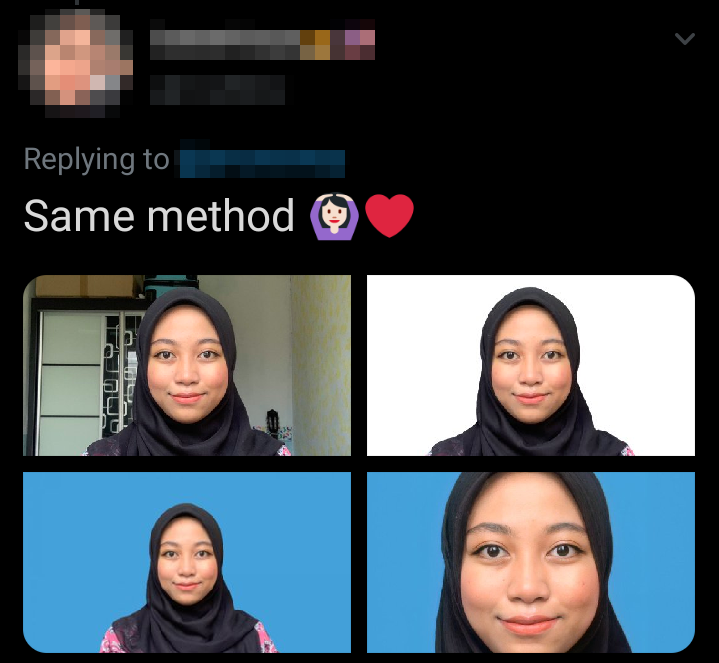

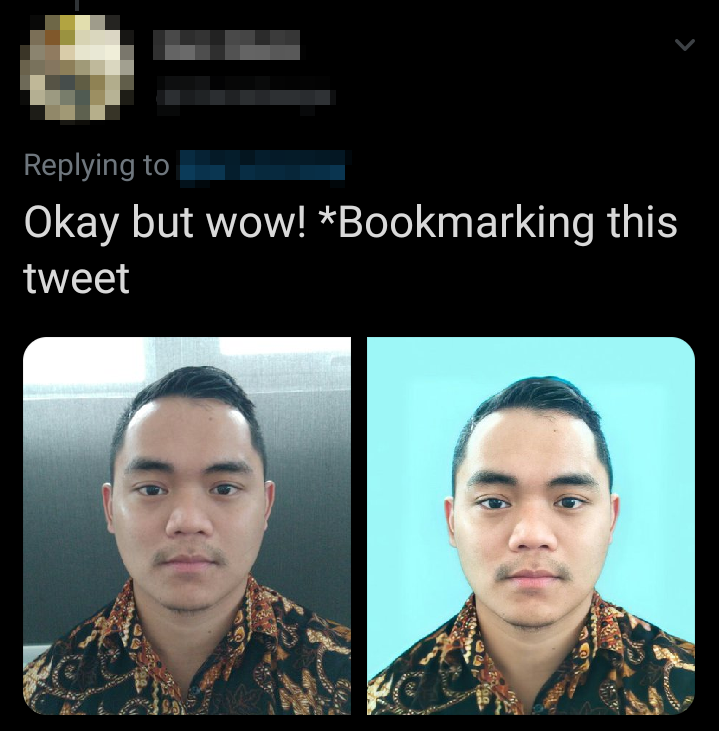
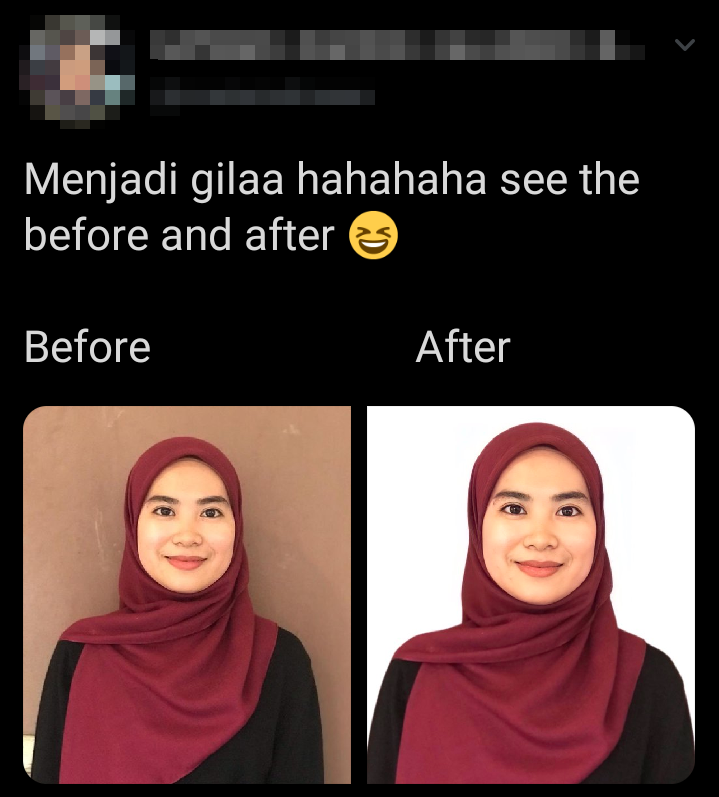
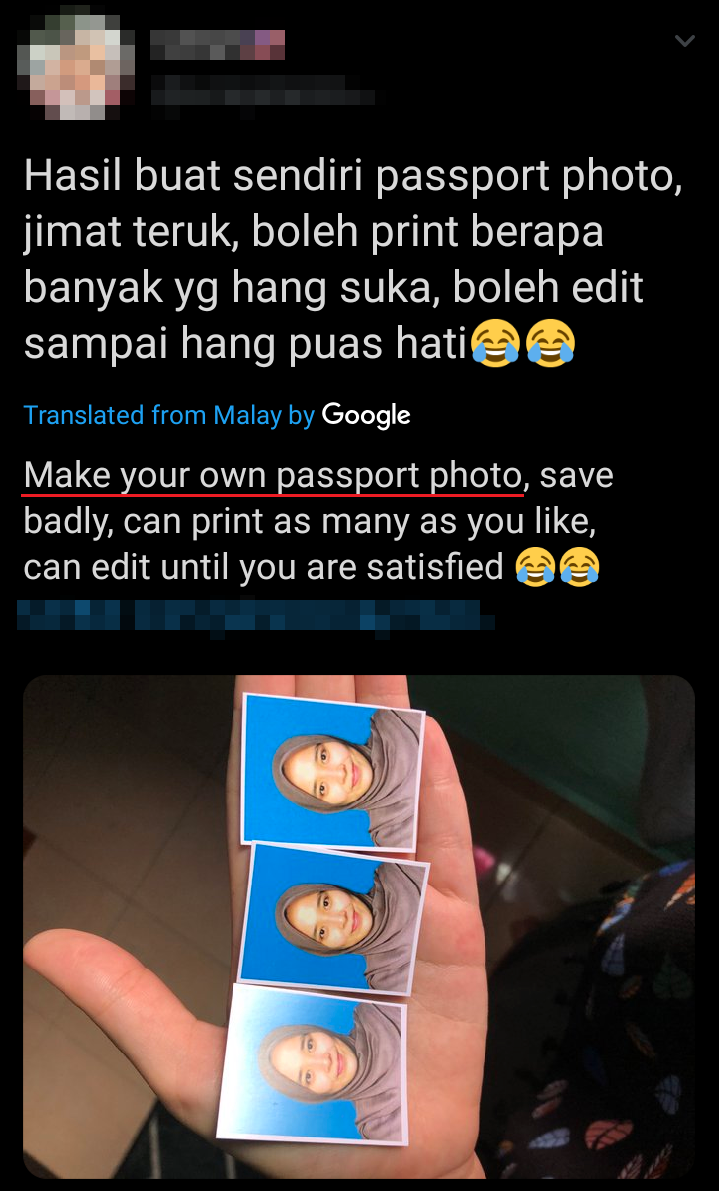
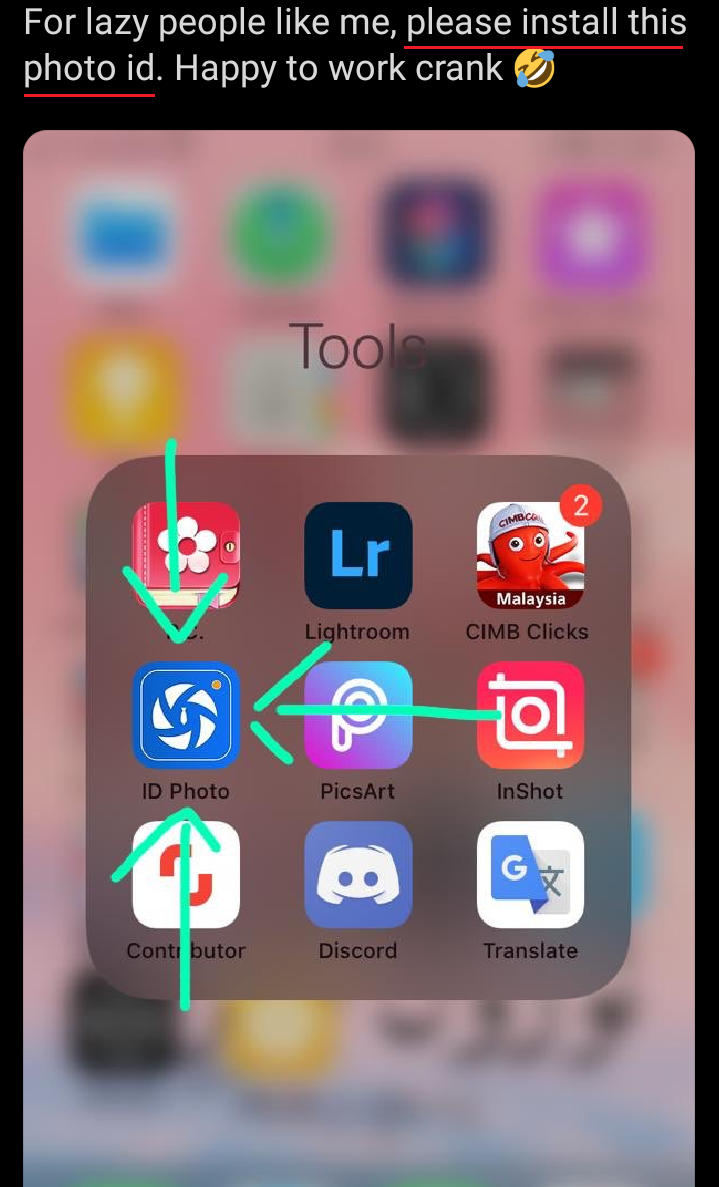
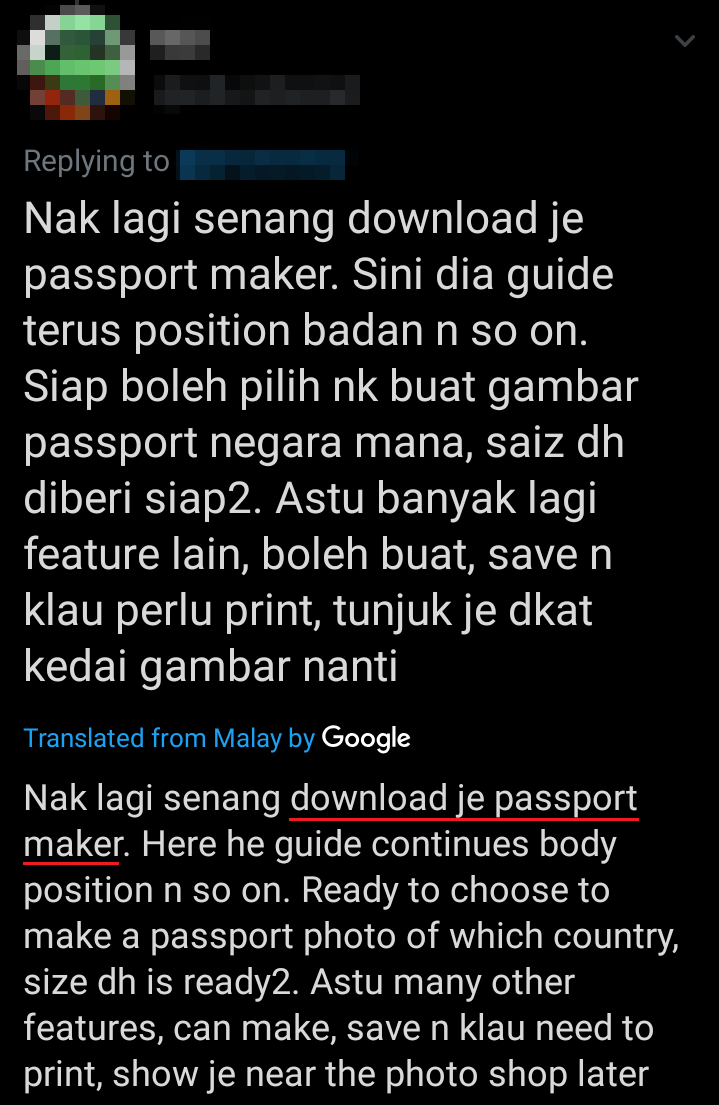
▼ Well, this is not the only way for you to make your own passport-sized photos!
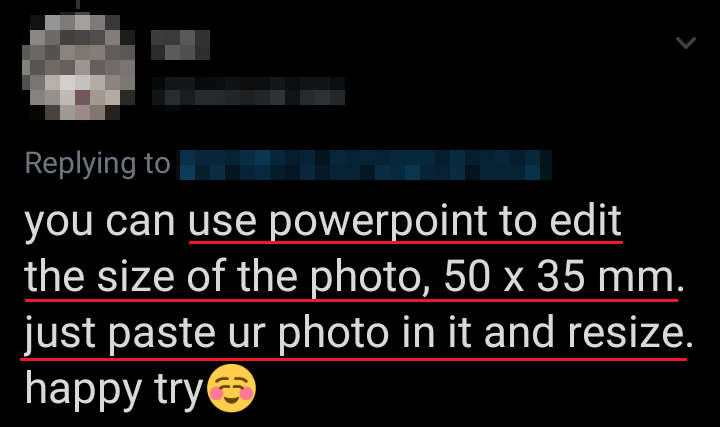

So easy, isn’t it! Try making your own passport-sized photos with this simple tutorial!
Info via: Twitter
