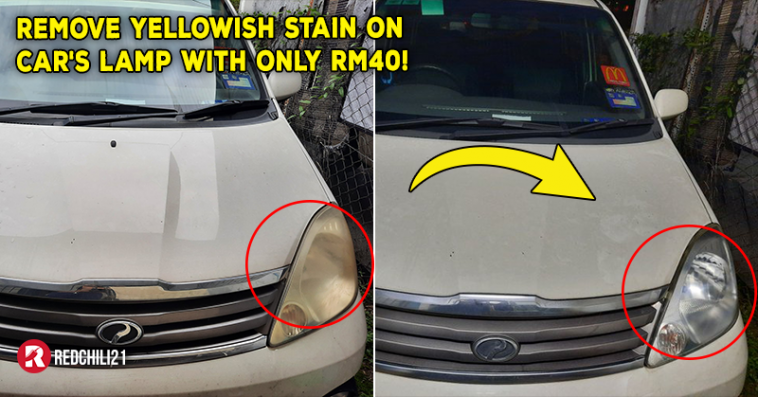
Do you hate seeing that yellowish stain your car’s lamp that makes your car looks dirty and old? And have no idea how to clean it yourself? Worry no more as this guy on Twitter has decided to share some tips on how to clean off those yellowish stain! His tweet on Twitter has garnered over 5K retweets and 8K likes over his very useful sharing!
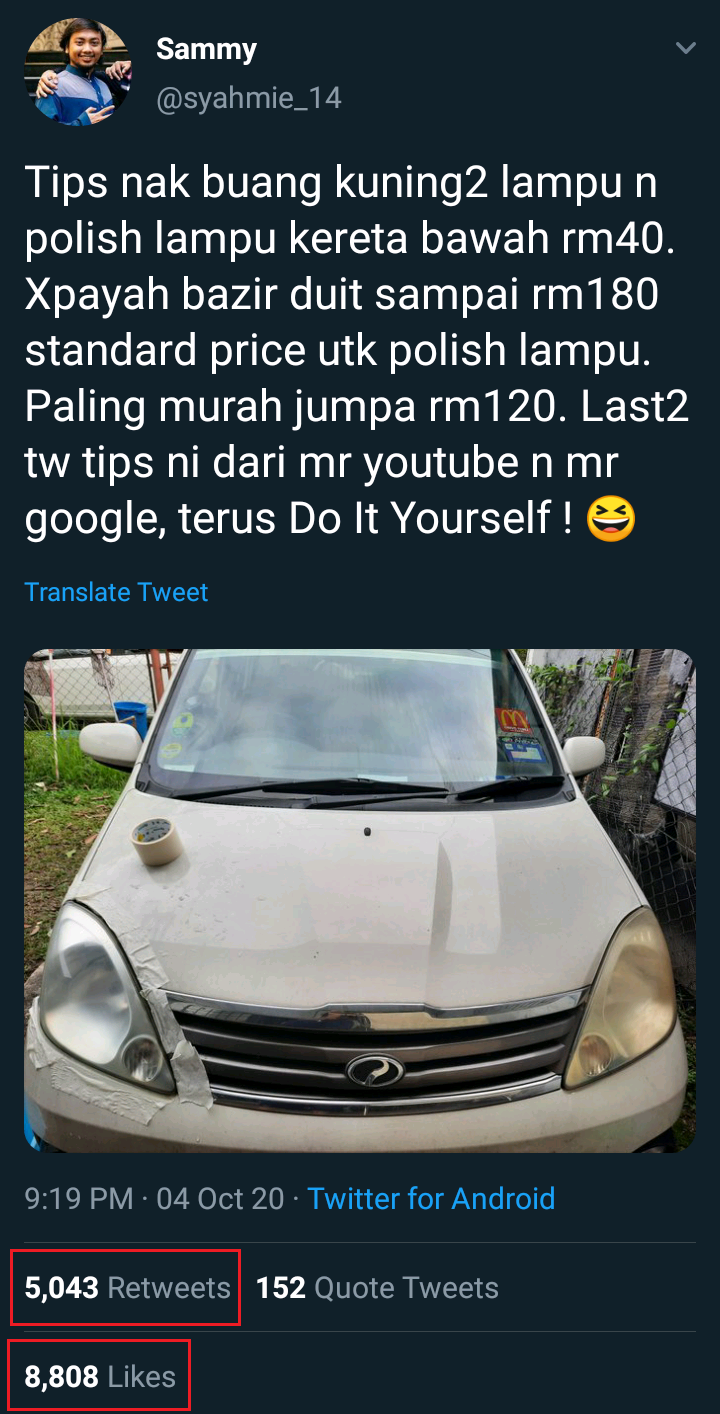
This tips is not only easy and doable, it is also very cheap compared to standard price of lamp polishing which can get up to RM180! Even the cheapest he can find is RM120! In this current economy, everyone needs to be savvy and creative. With only RM40, you can get the result like the left lamp!
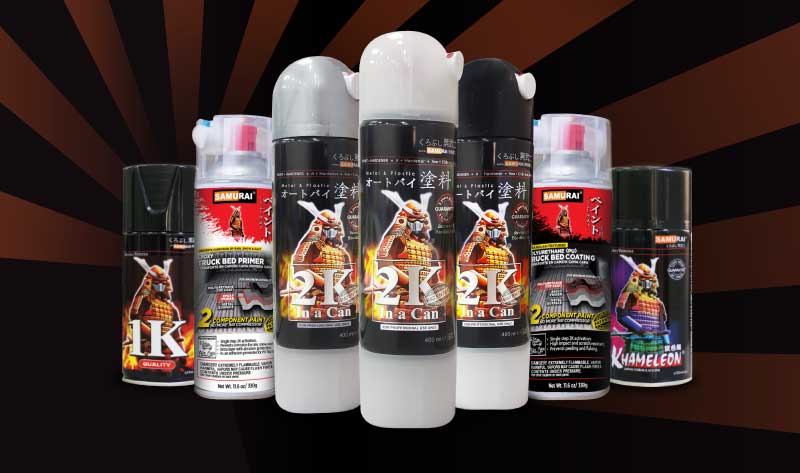
The materials needed to do this cleaning are listed below and all of this items are only RM39!
- Masking tape
- Sandpaper type 600,800,and 1000
- Autosol metal polish (you can get it at Shopee at RM5),
- Samurai 2K coating spray (can get it at Shopee at RM30).
Okey, so here’s how he do it!
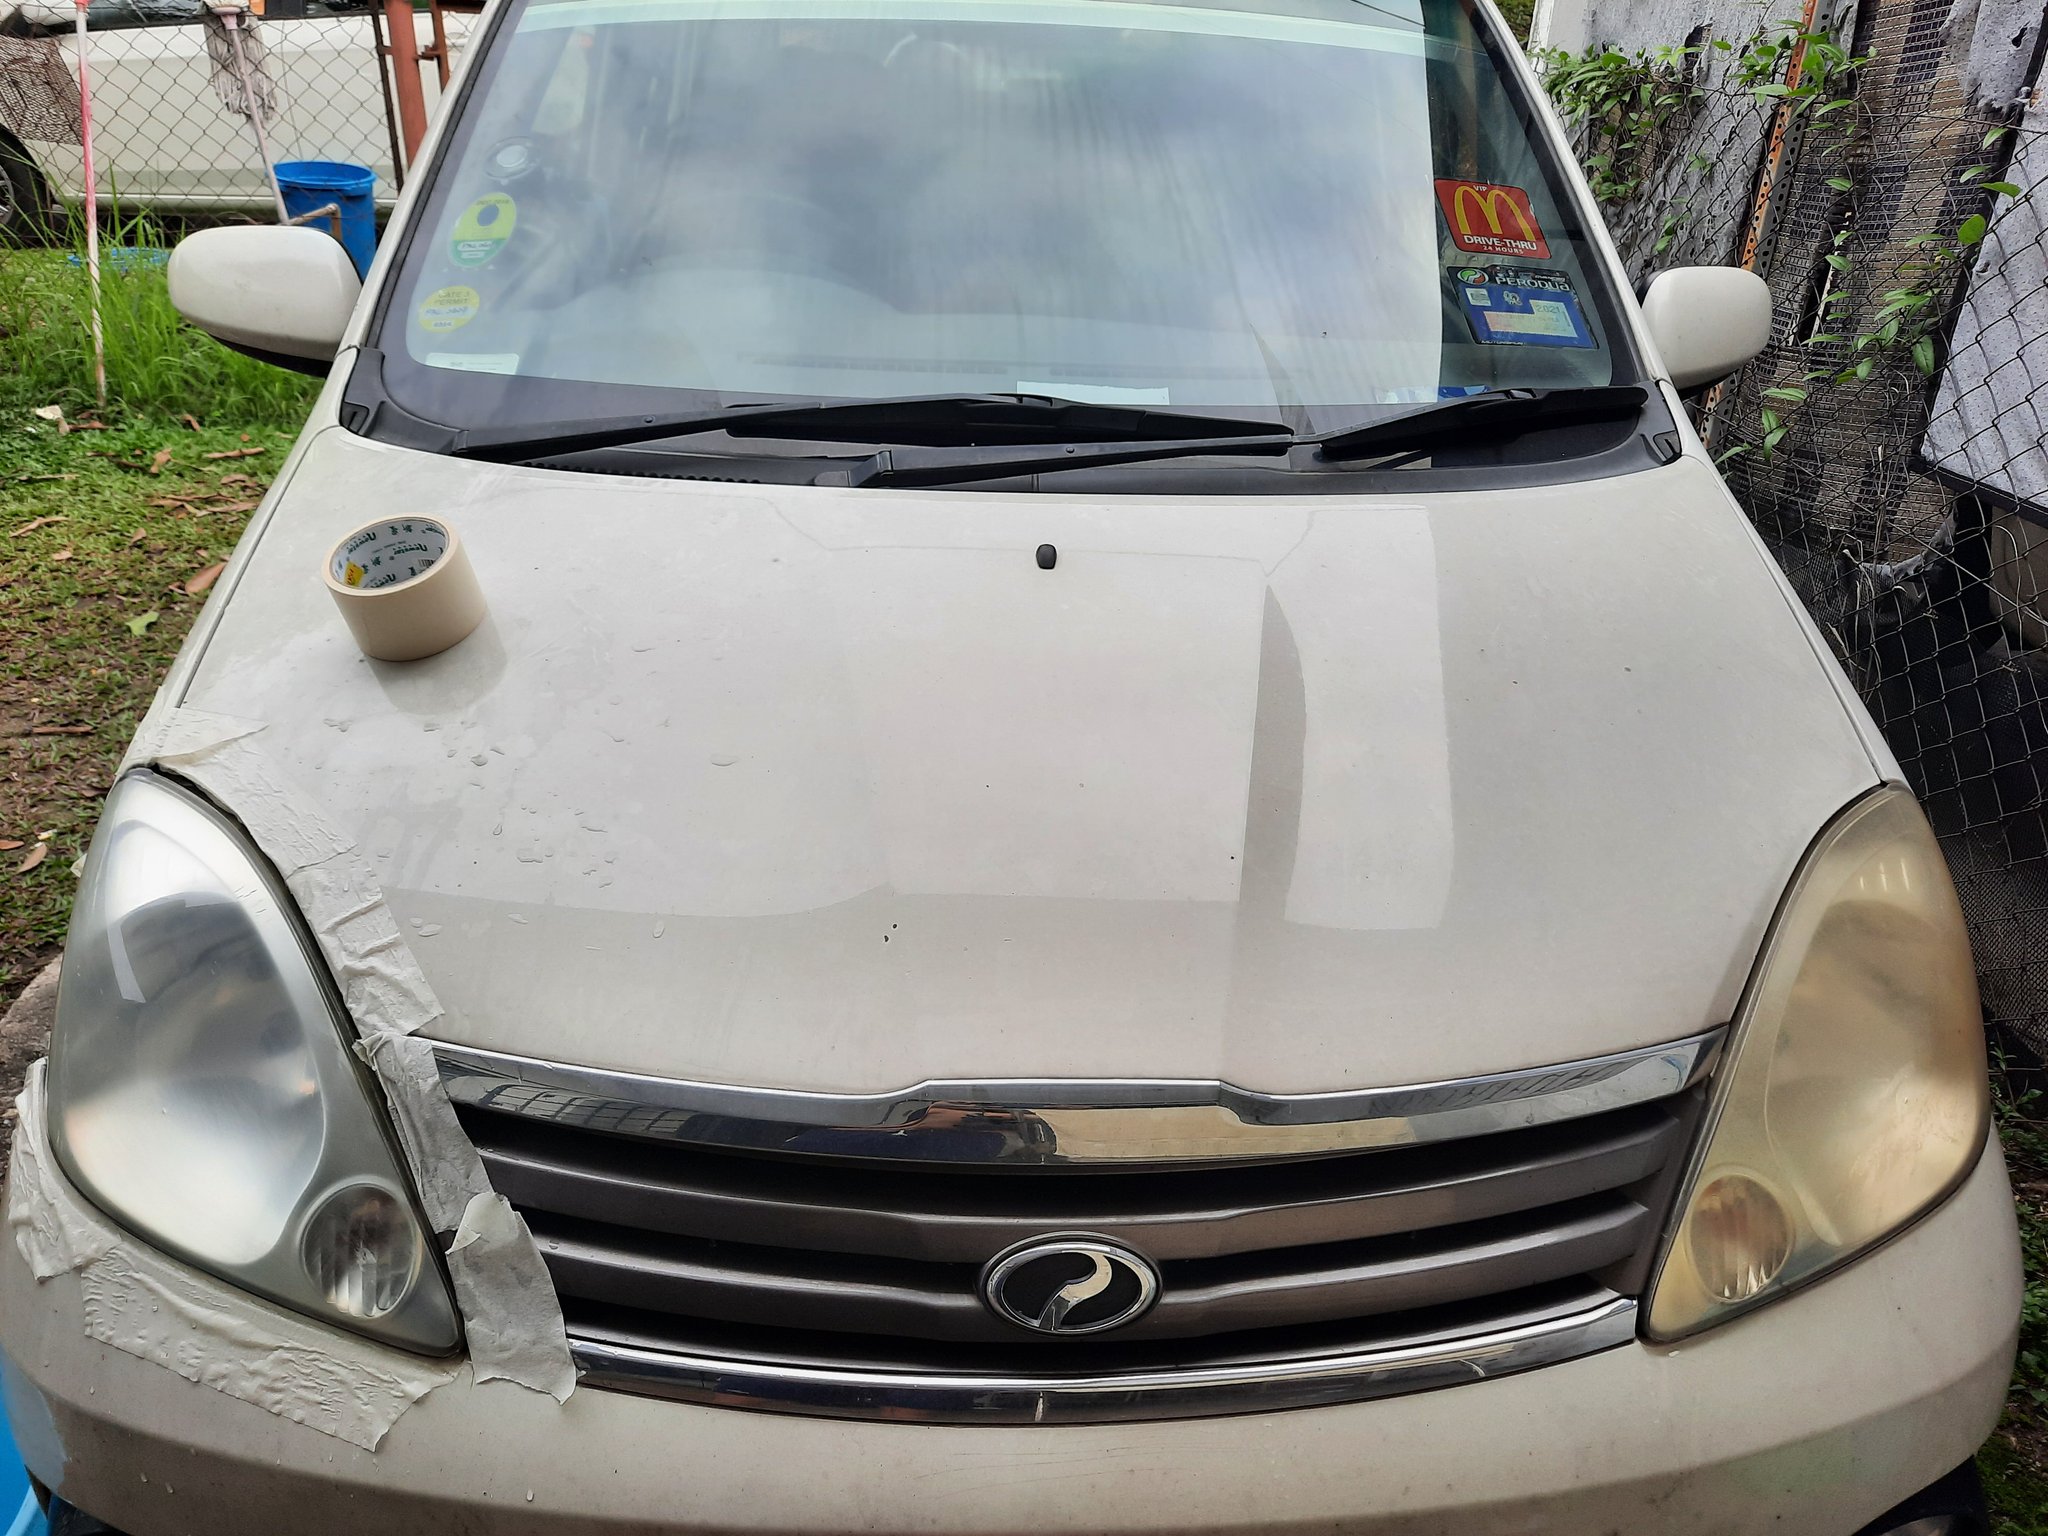
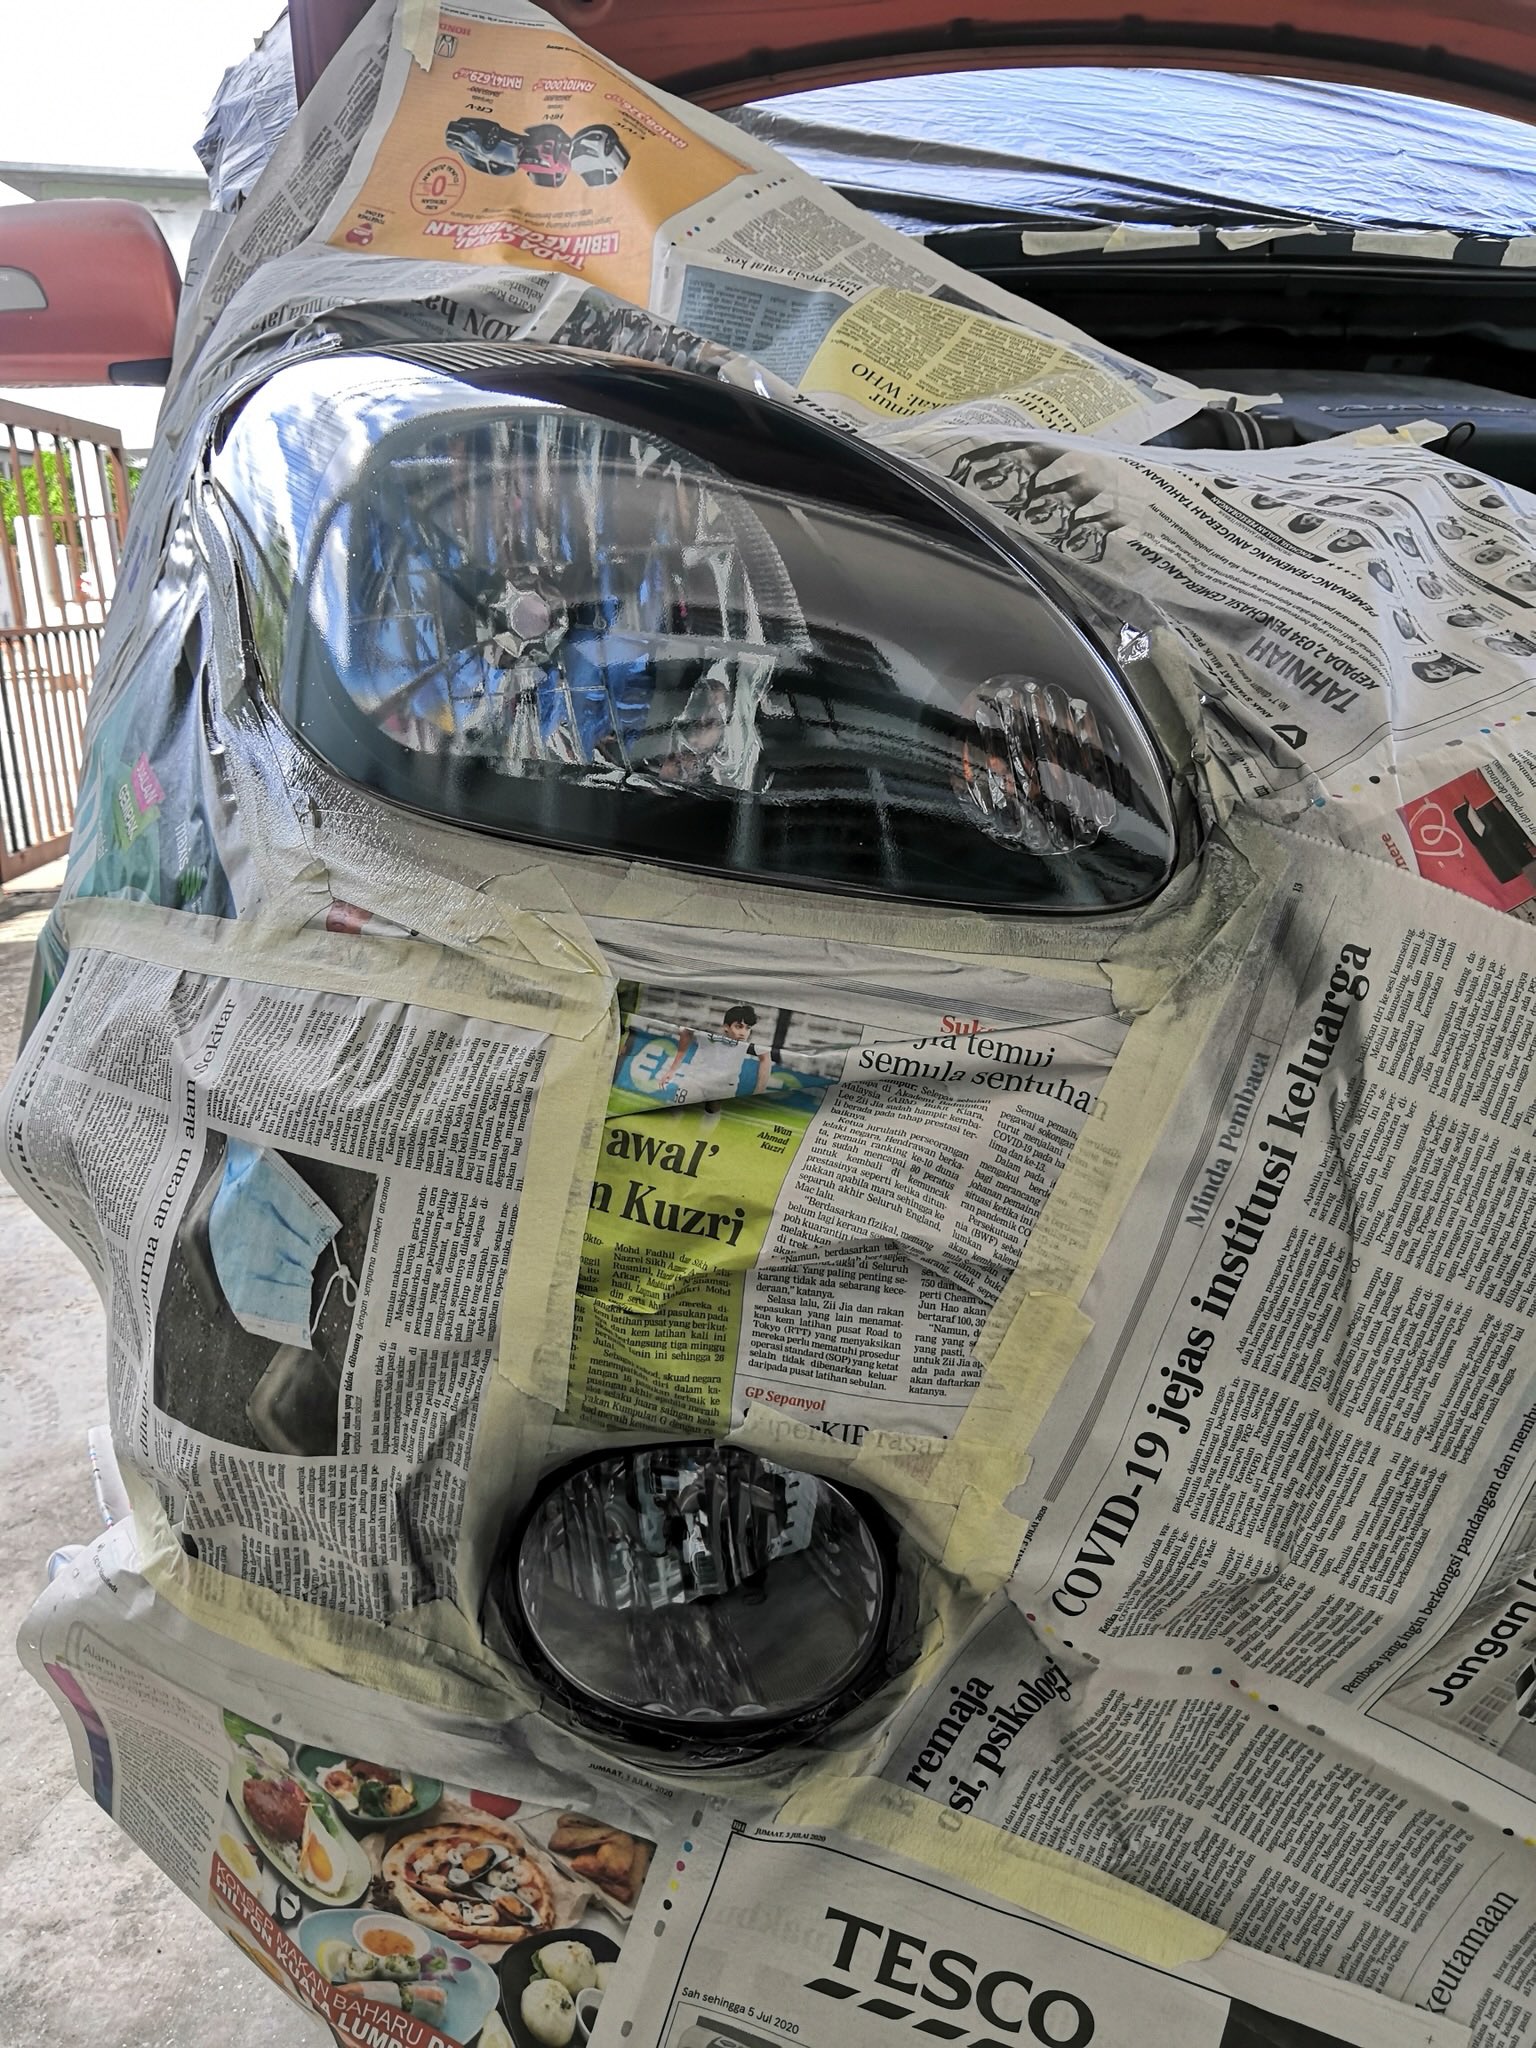
① First, apply masking tape around the lamp so it won’t have any scratches when you polish the lamp with sandpaper.
② Use sandpaper 600 first, cut it into your hand size. Rub the lamp with it but added a bit of water. Then continue with sandpaper 800 and sandpaper 1000 at last. Then, you can get the result like in this picture. The right lamp is a bit blurry, but don’t worry, it’s totally normal.

③ Let the lamp dry first, then clean it with autosol metal polish. You can use either sponge or polish towel. It would be better if you have grinder. Note that this autosol has two types, metal and plastic. From the tips he’ve seen, people often use the metal type, so even though he has plastic lamp, he still use the metal type to get the same result.
④ This is the result after being polished with autosol metal polish. It looked a bit clearer and shinier compared to before. Let it dry, then spray it with coating spray Samurai 2K.

⑤ Read the instruction on the can’s cover before open the spray can. For the first layer, randomly spray at a distance of 15cm-30cm. Don’t do it for too long. Then wait for 10 minutes to let it fully dry, then spray the second layer. Second layer spray is very important, its either you spray it horizontally or vertically.
⑥ If you don’t spray it in a uniform direction, it won’t be that shiny. For example, the lamp on the right side is sprayed in one direction only so it is shinier than the one on left side which is not sprayed in the same direction.

⑦ Remember that every time after you finish spraying, wipe the part of the car that has sprayed spot quickly before it dry. If not, you will have a hard time to remove it later.
And that’s it, you’re done! It only took around 1 hour 40 minutes. It is super easy and cheap as well. Besides, you can polish your cleaning skills too!
Netizen’s response
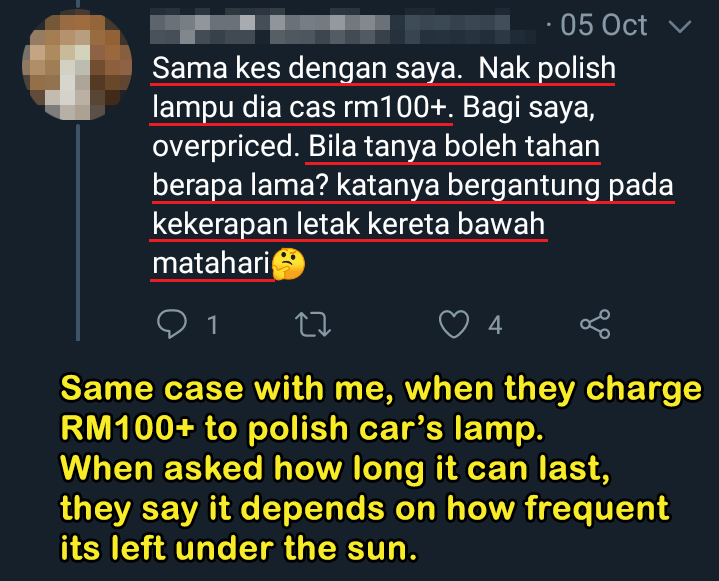
▼ Then how? Do we need to use umbrella on our car?
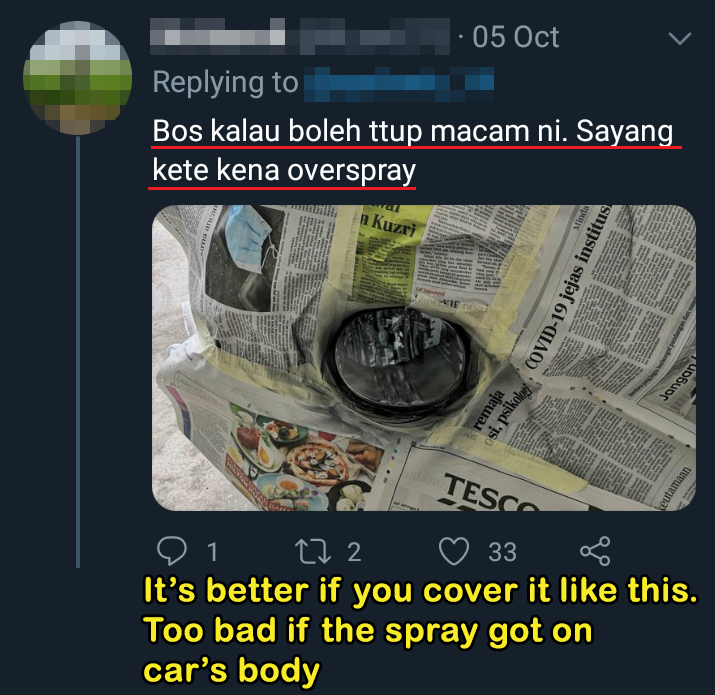
▼ Here’s some more tips you can take note on!
▼ What if I have tinted the car’s lamp?


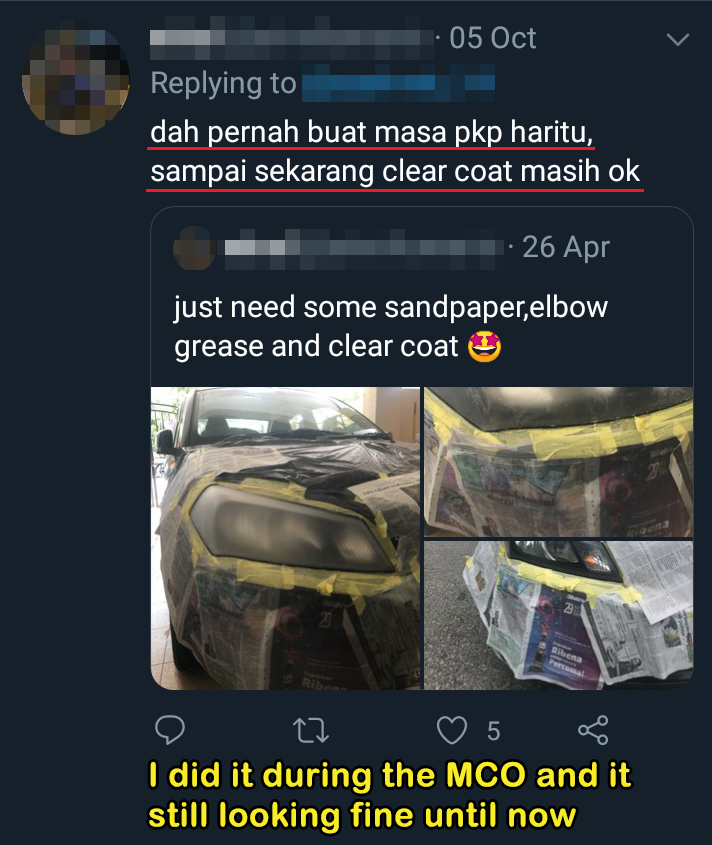
▼ This tips really worked!
This is a very good tips for anyone who wants to save money and at the same time polish their diy skills.
Info via Twitter
